Note: Tasklists and the tracks and tracked by fields for Projects are currently in private beta and subject to change. If you are interested in trying Tasklists and using the new fields, you can join the waitlist.
About Tasklists
Tasklists add support for hierarchies of issues on GitHub, helping you to keep track of your issues, divide your issues into smaller subtasks, and create new relationships between your issues.
Tasklists build upon the previous iteration of beta task lists, retaining the ability to convert items into issues, display the progress of a Tasklist, and create a "tracks/tracked by" relationship between issues.
The issues you add to your Tasklists will be automatically populated to show their assignees and any labels applied.

About integration with projects
Your project's side-panel displays an issue's place in the hierarchy on a breadcrumb menu, allowing you to navigate through the issues included in your Tasklists. You can also add the Tracks and Tracked by fields to your project views to quickly see the relationships between your issues. For information, see "About tracks and tracked by fields."
Creating Tasklists
You can create a Tasklist using Markdown in an issue description. Create a fenced code block and include [tasklist] next to the opening backticks. You can then preface each item with - [ ] and include links to other issues or text. You can optionally include a title as a Markdown header at the top of your list.
```[tasklist]
### Tasks
- [ ] https://github.com/octo-org/octo-repo/issues/45
- [ ] Draft issue title
```
Your Markdown will be rendered by GitHub as a Tasklist. You can then make changes and add issues and draft issues using the UI. If you edit the issue description, you will be able to modify the Markdown directly or copy the Markdown to duplicate the Tasklist in other issues.
You can also click in the formatting toolbar to insert a Tasklist when creating a new issue or editing an issue description.

Adding issues to a Tasklist
-
At the bottom of your Tasklist, click Add item to Tasks.

-
Select the issue to add to your Tasklist.
-
To add a recently updated issue from the repository, click the issue in the dropdown, or use your arrow keys to select it and then press Enter.

-
To search for an issue in the repository, start typing the title of an issue or the issue's number and click on the result, or use your arrow keys to select it and press Enter.

-
To add an issue directly using its URL, paste the URL of an issue and press Enter.

-
Creating draft issues in a Tasklist
Draft issues are useful to quickly capture ideas that you can later convert into issues. Unlike issues and pull requests that are referenced from your repositories, draft issues exist only in your Tasklist.
-
At the bottom of your Tasklist, click Add item to Tasks.
-
Type your draft issue title and press Enter.

Converting draft issues to issues in a Tasklist
You can convert draft issues into issues. Issues are created in the same repository as the Tasklist's parent issue.
-
Next to the draft issue you want to convert, click .

-
In the menu, click Convert to issue.

Removing an issue or draft issue from a Tasklist
You can remove issues and draft issues from your Tasklist. Issues removed from a Tasklist are not removed from the repository.
-
Next to the draft issue you want to remove, click .
-
In the menu, click Remove.

Changing the title of a Tasklist
When you create a new Tasklist, the default title is "Tasks." You can modify the title by editing the issue's markdown.
-
In the top-right of the issue body, click .
-
In the menu, click Edit.

-
Modify the header in the fenced code block to your new title. For example, change
### Tasksto### My new title.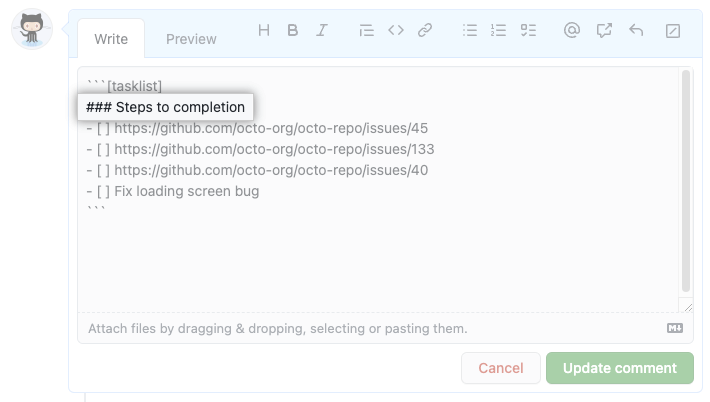
-
Click Update comment.
Copying a Tasklist
When you copy your Tasklist using the "Copy Markdown" option, GitHub copies Markdown to your clipboard and includes the Issue's name so you can paste the Tasklist outside of GitHub without losing context.
-
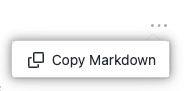
In the top-right of your Tasklist, click .

-
In the menu, click Copy markdown.