Once you've created a useful script how do you get it into the hands of users? The script gallery is a distribution mechanism built right into Google Apps Script that lets you distribute scripts and lets users install them with a couple of clicks.
Preparing a script for submission
Submitting a script to the gallery means exposing it to the world, so it's worth taking a moment to make sure that your code is ready for prime time. Following the tips below will help ensure that your script is included in the gallery as quickly as possible.
-
Ensure your script is functioning correctly. Take time to test it thoroughly, ensuring it can handle different types of data and throws the correct errors when appropriate. Fixing a bug won't help users that have already installed the script.
-
Remove any unused code. You may have written extra testing code while developing the script, but cleaning it up before you submit will make it easier for other people to read and modify.
-
Remove personal information. If your script contains account details or API keys you should remove them before submitting the script. Remember that everyone that installs a script can see the full source code.
-
Provide a description of what your script does and why it's useful. When you save your script, be sure to include a detailed explanation of the purpose of your script in the Description field. Imagine you are posting a short ad for your script — what would you say to explain it to another user?
-
Consider submitting a spreadsheet template instead. If your script depends upon a spreadsheet being formatted in a particular way or covers a very specific use case, then submitting a spreadsheet template that includes the script could be a better option. The Google Apps Script team has submitted some examples of spreadsheet templates that contain scripts.
-
Consider adding a custom menu to the spreadsheet. Adding a custom menu to the spreadsheet will make it easier for users to run your script, and will save them from having to launch the script editor each time they want to run the script. Not everyone is comfortable with scripts, so consider adding a menu to make it clear what users should do.
-
Don't rely on sheet, row, or column indices within a spreadsheet. Avoid explicitly using sheet, row, or column indices, and instead refer to the active sheet, active selection, or column headers. For example, avoid using getSheets()[0], and instead use getActiveSheet(), since a user may want to have your script act upon a different sheet than the one returned by getSheets()[0].
Submitting a script to the gallery
To submit a script in the gallery follow the steps below.
-
With the script loaded in the script editor click Publish > Submit to Gallery in the menu bar.
-
Fill in a name and description for your script. You should try to pick a name that isn't already used in the gallery. Select a category and optionally provide a link to a website that provides more information about the script.

-
Click the Submit button to submit your script.
-
Your script will be sent for approval, and a dialog will provide you the ID number to use when referencing your script in the gallery.

What's submitted?
The following table outlines which parts of your project are submitted.
| Resource | Submitted? |
|---|---|
| Code | Yes |
| User Properties | No |
| Project/Script Properties | No |
| Triggers | Some (see below) |
In general, the triggers you have configured in your project will not be submitted along with your script to the gallery. However, triggers for simple events, which are automatically created based on the naming conventions of the function, will be recreated after the script is installed. The onInstall() event handler and the Script service can be used to create additional triggers after the script has been installed.
Resubmitting
When a script is submitted it is copied to the gallery, and when it's installed it's copied again to the user's spreadsheet. This means you can make further edits to your original script after it's been submitted without needing to worry about breaking someone else's project. You may decide to add new features or fix a bug you've found.
Once you're work is complete you can resubmit the script by following the same steps you followed to submit it initially. You'll be presented with a small warning that your changes will overwrite your existing script in the gallery, since we only support one version of a script at a time. Be aware that your script will temporarily be removed from the gallery from the time you resubmit your script until the time it is reapproved.
Installing a script from the gallery
To install a script from the gallery into a spreadsheet, a user should follow the steps below.
-
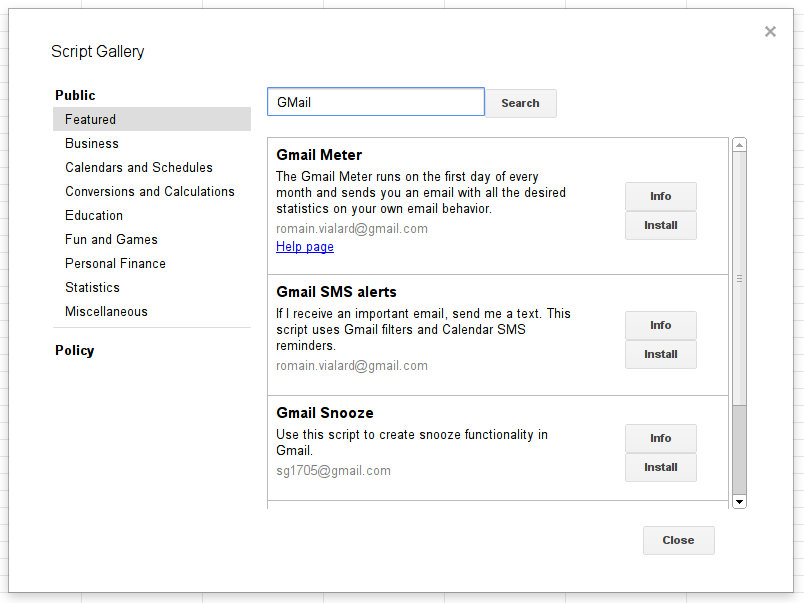
From the menu bar select Tools > Script gallery...
-
Browse through the categories on the left or use the search box to find the desired script.
-
Click the Install button next to the script to install it into the spreadsheet.
-
A dialog is presented requesting authorization for the script. It lists the types of activities the script is performing. To grant the script these permissions and continue the installation click the Authorize button.

-
Depending on which services the script uses another dialog may be presenteed, asking for additional access to be granted. Click the Grant access button to complete this step.

The script is now installed in the spreadsheet. Depending on the script's behavior it may have added spreadsheet functions, menu items, or automatic behavior.
Note that installing a script copies it into a spreadsheet, allowing the user to view the code of the script and even customize it to fit their needs. The script code can be accessed by selecting Tools > Script editor... in the menu bar.